Updated: See below for the third mask pattern I’ve tried (my favorite!)
In April, I tried sewing some DIY face masks for my personal use and to give to friends and family. As I am averse to single-use items, a reusable mask to wear during Covid-19 social distancing was a must for me.
I started with a fairly simple pattern, from this USA Today Article.
I also used some iron-on interfacing to add another layer of protection to the mask.
First Attempt:
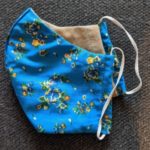
The first one I made with some Spoonflower fabric I’d ordered from my own pattern back when I was taking a sewing class and made a zippered pouch with it. The fabric was the Kona Cotton Ultra.
View this post on Instagram
It turned out pretty good and I do use this face mask, but I find the fabric combined with the interfacing makes it a little stuffy/hard to breathe.
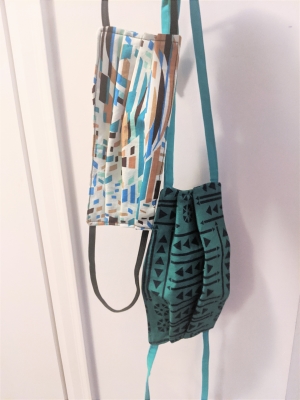
The rest of the masks I made with basic quilting cotton, but I had ironed on the interfacing before I realized I didn’t necessarily like it.
But the interfacing + lighter weight cotton turned out good.
I did attempt to add a bit of a nose piece to a few of these masks by ironing in three pieces of twist ties using a piece of fusible interfacing on the inside before sewing, however after going through the wash a couple times, it appears the wires just kinda come off and get all bent up from the heat. So, it’s best to have a removable wire nose piece.
I made five masks like that and sent some to family members and gave one to a friend.
Trying A Different Pattern:
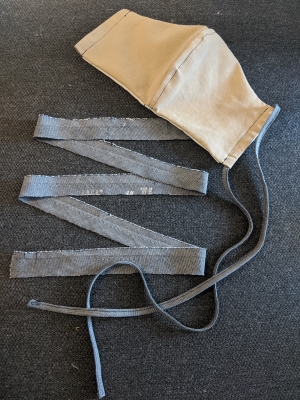
As things have progressed and more stores were making masks mandatory and it was becoming more regular for people to be wearing them, I figured I needed to make one for Lee. I have a box of worn out clothes that I’ve saved for the purpose of upcycling, mostly Lee’s ripped jeans which would be too thick/hot for a face mask, but I did find a pair of his ripped khaki shorts that worked nicely for a mask.
I ripped out the pockets and used those as the lining fabric for the mask with the khaki as the outside. I was also able to rip out the blue waistband lining to sew into a bias tie for the mask.
This time I used a different pattern. I went with one I found via some local maker community folks. They have a great page here which explains the proper way to use face masks, disinfect them and includes a tutorial and pattern to make DIY face masks.
I recommend reading their page, even you don’t plan on making your own mask, as it has a lot of good information on what can be reused/disinfected and what can’t.
This pattern allows for an filter insert of your choice and a wire nose piece.
Here’s the khaki one in progress:
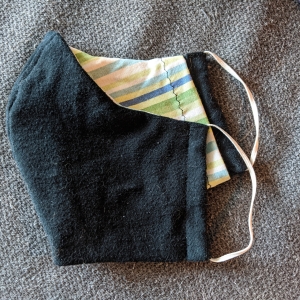
Lee wasn’t too keen on the colour, so I ended up making him another one in black out of a black tshirt a friend gave me and a leftover piece of some old PJ pants of mine that had worn out. Both are a stretch knit fabric, so not as ideal as the woven cotton, but still better than nothing. I used the same pattern so a filter can be inserted. I am not really too familiar with sewing knits, so it was a bit frustrating.
I used elastics this time, with the knots tucked into the tie tubes in the mask.
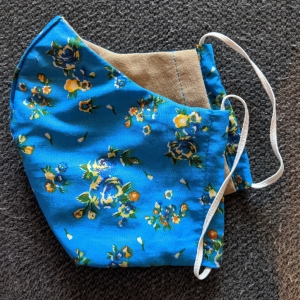
I also made one more for a friend’s 6yo daughter who was having issues wearing a regular medical mask not made to fit a child.
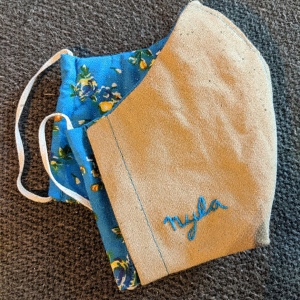
This pattern has different sizes so I made her a small sized face mask and choose my prettiest fabric and added in a bit of embroidery of her name inside.
I’ll definitely be making more of this style while I’ve got the fabric to use and elastic/ties.
The elastic and ties can easily be switched out if the wearer prefers one to the other, and a pocket for the wire nose piece can be added at the top.
The next one I’m going to make will be a pretty one in this style for myself. Might also add some more embroidery for fun.
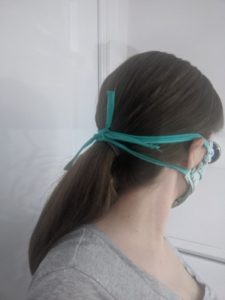
Another note I’d add is that I prefer myself wearing a mask that ties around my head to one that is elastics around my ears.
Before my grocery trips I put my hair in a pony tail and then tie both ties of my mask above my ponytail so that it doesn’t slip down.
Update: I tried a third mask pattern.
Lee and I went to the AGO for my birthday, then to a couple patios for eats and we ended up 10-pin bowling.
While at the AGO, Lee had a hard time with his black mask – it was too hot and hard for him to breathe in. We ended up ripping out the lining so he could stand it for the rest of the day. Then while we were bowling, I was wearing my mask that ties on the back of my head, and I had to keep pulling it down and putting it back up (had to wear the mask while up and about and on the lanes, and then could take it off at our table to have a drink) and realized that I really need a mask with elastic ear loops to make it easy to put on and take off. Especially since now our building has made masks mandatory in the elevators and lobby, so just to check the mail or get something from my car, I need to wear a mask.
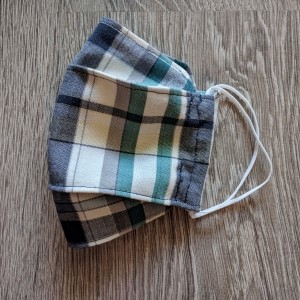
So, I found this pattern from See Kate Sew for a 3D mask pattern that was quite simple looking.
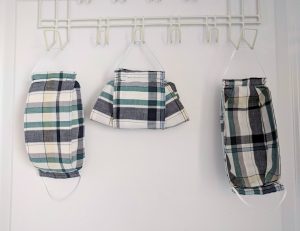
I ended up making three masks from this pattern, two for myself and one for Lee.
For my masks, I used the Adult Small size and for Lee’s I traced the Adult Medium size and added a half inch around all sides to make it a bit bigger. I didn’t bother with the filter pockets on any of them, and I haven’t yet sewn on a nose-wire pocket, though I may still do that.
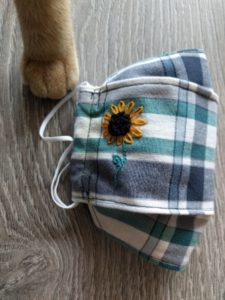
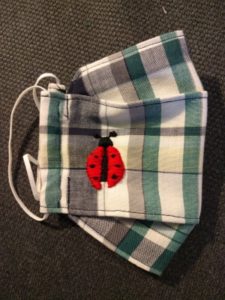
Then I made two more out of the same shirt, the right one is Lee’s.
And because we now have matching masks I thought it important to personalize them so I added some embroidery.
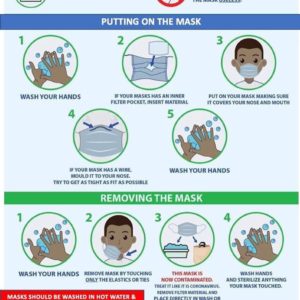
Here’s a great graphic on how to safely put on and remove masks whether you are wearing DIY face masks or disposable ones. I unfortunately don’t know the source of this graphic.
